

How to Test and Replace a Hoverboard Hub Motor: A DIY Diagnostic Guide for 6.5-Inch Self-Balancing Scooters
Is Your Hoverboard Acting Up? Let's Fix That Hub Motor
You're cruising down the sidewalk, wind in your hair, and suddenly — jerk. One side of your hoverboard stutters, grinds, or stops spinning altogether. Before you panic and buy a brand-new scooter, take a breath. Nine times out of ten, the culprit is a failing hub motor, and it's totally fixable at home with basic tools and a bit of patience.
In this guide, we'll walk you through how to diagnose a bad hub motor on a 6.5-inch self-balancing scooter, confirm the problem, and swap in a replacement — no repair shop required. Let's get your ride back on the road.
How a Hoverboard Hub Motor Works (Quick Crash Course)
Each wheel on a self-balancing scooter has its own brushless hub motor built right into the wheel itself. These motors run on 36V–42V and typically deliver around 350W of power per side. Inside, you'll find copper coils, magnets, hall-effect sensors, and bearings — all crammed into a slim wheel hub.
When one motor fails, your board loses balance, pulls to one side, or refuses to power on. Common symptoms include:
- Grinding, clicking, or rattling noises from one wheel
- One wheel spinning while the other stays dead
- The board beeping and shutting off after a few seconds
- Inconsistent acceleration or sudden jerks
- Red light flashing on the charging port or main board
Step 1: Gather Your Tools
Before you crack open anything, get your workspace ready. You'll need a decent screwdriver set — the screws on hoverboards are tiny and easy to strip with the wrong bit. The Utopia 6011-A 32-Piece Screwdriver Set covers almost every fastener you'll run into, and it's a solid investment for any DIY repair.
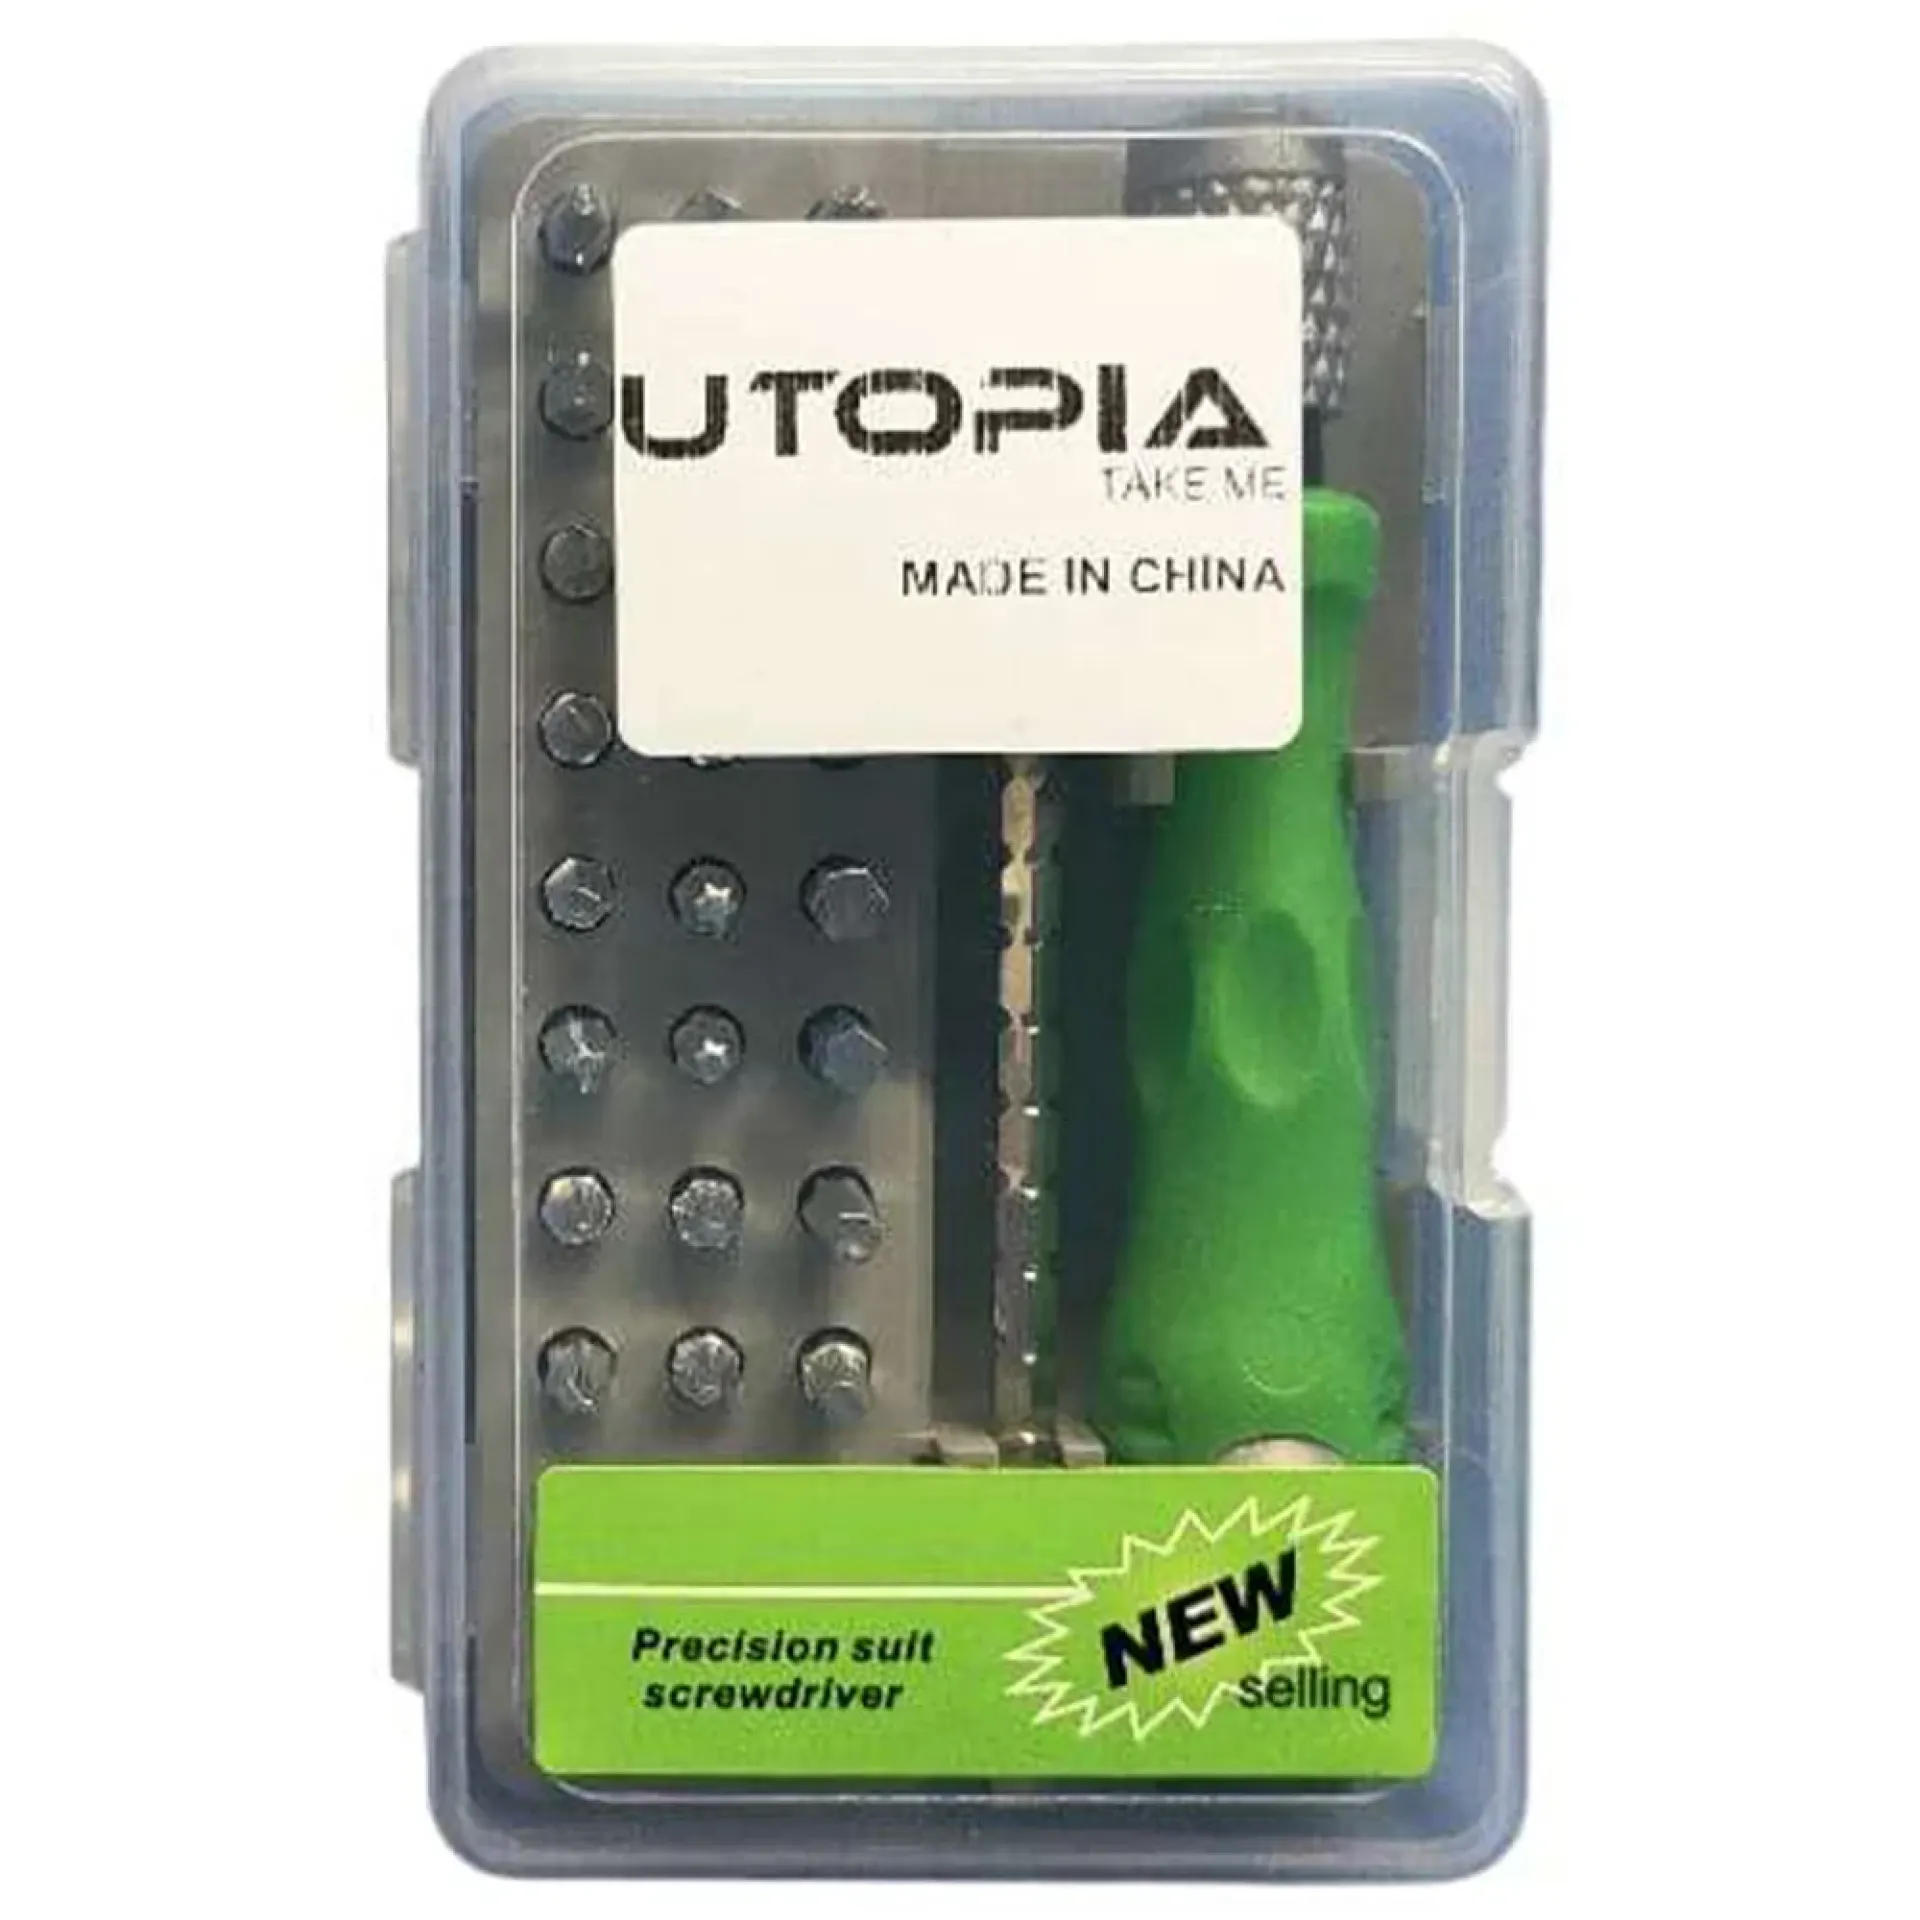
For the finer internal screws (like those on the motor connector or hall sensor housing), grab a 24-in-1 Precision Screwdriver Set. It's compact, magnetic, and perfect for tight spaces.
Step 2: Diagnose the Motor
Visual Inspection
Flip the hoverboard upside down and remove the foot pads and side panels. Inspect the motor wires — look for frayed, pinched, or melted cables. Any visible damage is a red flag.
Spin Test
With the board powered off, spin each wheel by hand. A healthy motor spins smoothly with light resistance. A bad motor feels gritty, stiff, or wobbles. If one wheel free-spins while the other barely moves, you've likely found your problem.
Voltage Test (Optional)
If you have a multimeter, disconnect the motor connector and test the output from the main board. You should read around 36V–42V. No voltage? The issue may be the board, not the motor. Voltage present but no movement? The motor is toast.
Swap Test (The Foolproof Method)
Here's a trick the pros use: swap the connectors between the left and right motors. If the problem follows the motor, the motor is bad. If it stays on the same side, the main board is the culprit. This test takes 5 minutes and saves you from buying the wrong part.
Step 3: Replace the Hub Motor
Once you've confirmed the motor is dead, it's time for the swap. A reliable, budget-friendly option is the 6.5-Inch Hoverboard Hub Motor Wheel (36V–42V, 350W). It's a direct-fit replacement for most self-balancing scooters and comes ready to install.

Removal Steps
- Power down and disconnect the battery.
- Remove the side panel and unplug the motor connector (usually a 3-pin or 5-pin plug).
- Unscrew the axle bolts holding the wheel in place.
- Slide the old motor out carefully — watch for washers and spacers.
Installation Steps
- Slide the new motor into position and reattach the axle bolts.
- Reconnect the motor plug — make sure it clicks firmly.
- Reinstall the side panel and foot pads.
- Power on and test both wheels before riding.
Step 4: Secure Loose Components
While you're in there, check for any cracked plastic housings or loose mounting points. A little adhesive goes a long way. The Interbond Fast Adhesive 100g + 400ml Activator Spray is a beast for bonding plastic and metal parts — it sets in seconds and holds up to vibration, which is exactly what hoverboards put out.
Pro Tips to Extend Motor Life
- Don't ride through water. Moisture kills hub motors faster than anything.
- Check tire pressure. Low pressure strains the motor and drains the battery.
- Avoid sudden stops. Smooth riding = longer motor lifespan.
- Store indoors. Extreme heat and cold damage internal components.
- Inspect wires monthly. A 30-second check can save you a 1,100 EGP replacement.
When to Call It Quits and Just Replace the Motor
If your motor is grinding, smells burnt, or has visible coil damage, don't waste time trying to repair it. Hub motors aren't designed to be rewound or rebuilt at home. Replacement is faster, cheaper, and safer.
Final Thoughts: Get Back on the Road
Diagnosing and replacing a hoverboard hub motor isn't rocket science — it just takes the right tools, a little patience, and a clear plan. Whether you're fixing a grinding wheel or upgrading a tired motor, having quality tools and reliable parts on hand makes all the difference.
Ready to get your self-balancing scooter running like new? Browse our full collection of hoverboard parts and tools at Electra Store and grab everything you need in one place. Ride safe, and happy tinkering!