

How to Build a Reliable Temperature-Controlled Soldering Station: Wiring a Panel Thermostat Relay with NTC Sensor
Why Build Your Own Temperature-Controlled Soldering Station?
If you're tired of your soldering iron running too hot or too cold, you're not alone. A stable temperature is the secret to clean joints, happy components, and a frustration-free project. Commercial soldering stations can cost a fortune, but here's the good news: you can build your own reliable temperature-controlled soldering station for a fraction of the price. All you need is a panel thermostat relay with an NTC sensor, a few basic tools, and a bit of patience. In this guide, I'll walk you through the entire process, from gathering parts to wiring everything up safely. Let's dive in!
Gathering Your Tools and Components
Before we start wiring, let's make sure you have everything on hand. The star of the show is the Panel Temperature Regulator Relay with NTC sensor RD-RT40. This nifty device lets you set your desired temperature and automatically switches your soldering iron on and off to maintain it. It's affordable, easy to wire, and perfect for DIY soldering stations.
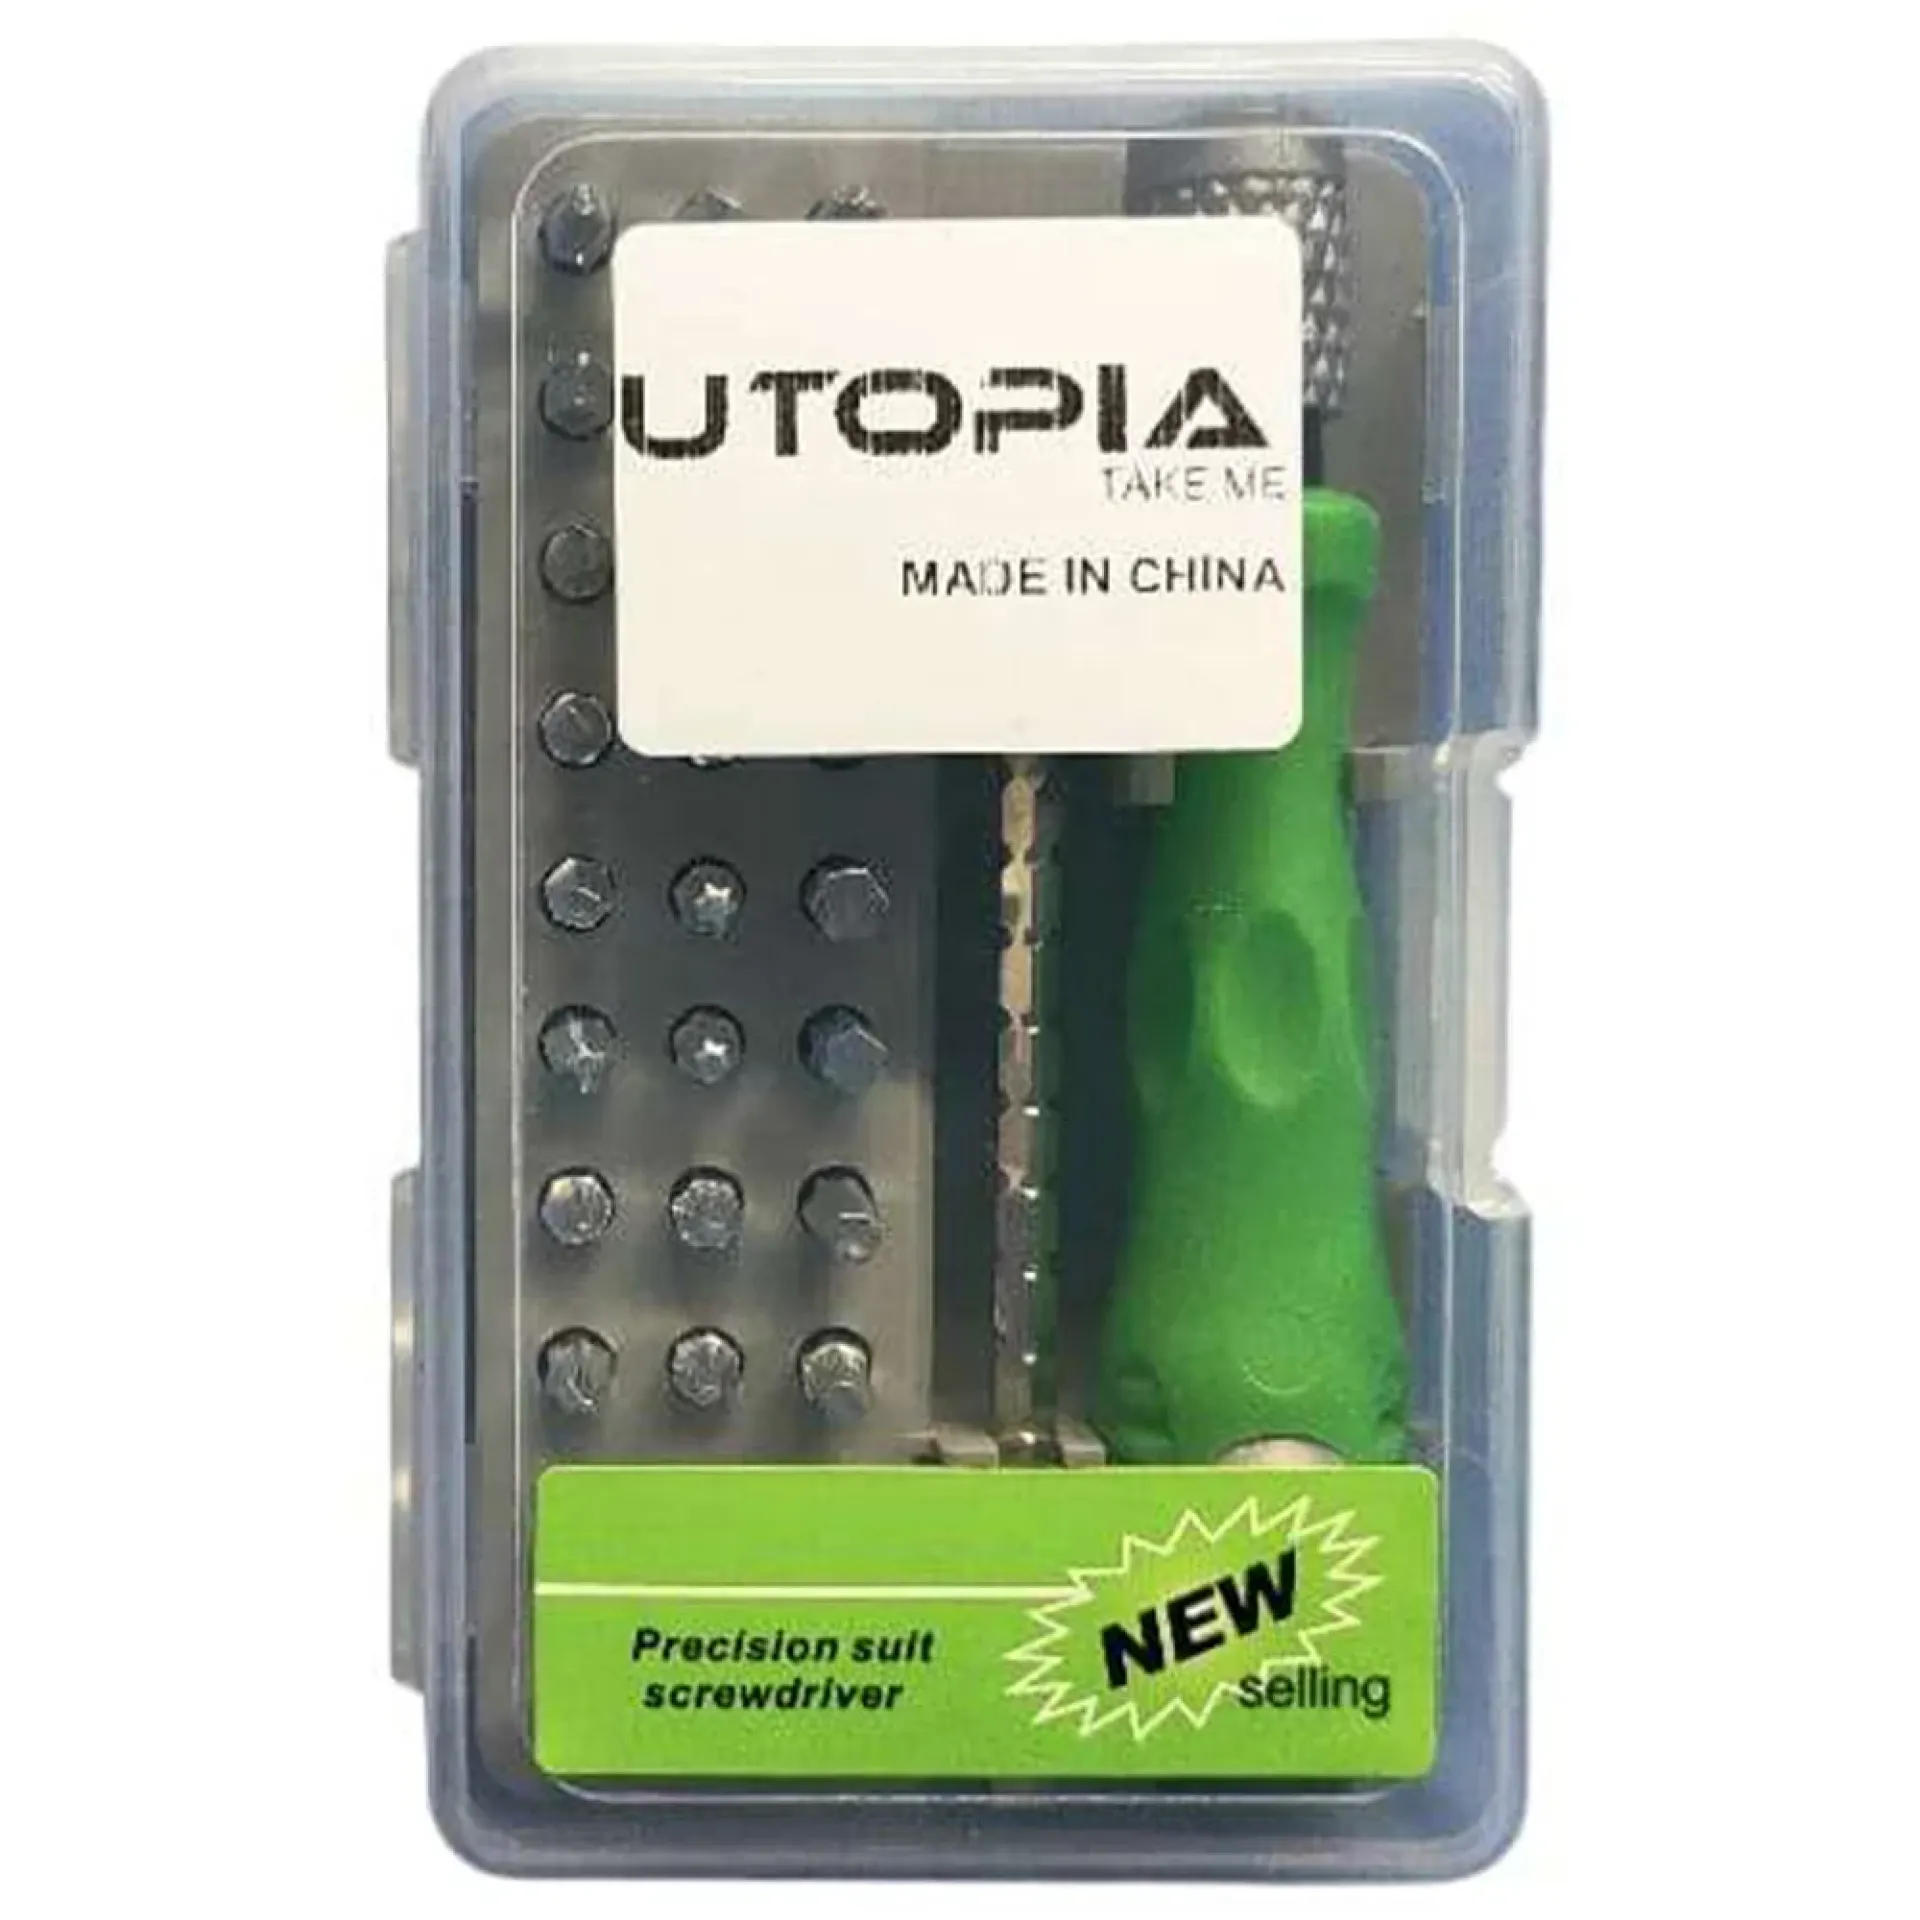
You'll also need a few hand tools. A good screwdriver set is essential for tightening terminals and opening the relay housing. The Utopia 6011-A Screwdriver Set (32 Pieces) is a fantastic choice—it has pretty much every size you'll need for this project and beyond. For the finer work, like adjusting the NTC sensor or working on small circuit boards, the 24-in-1 Precision Screwdriver Set is a lifesaver. It's compact and comes with all those tiny bits that standard sets miss.
Finally, if you plan to add any custom settings or digital controls, a DIP Switch 8 Way – Long Leg can come in handy. It's great for setting addresses or modes on microcontroller-based projects, but for this build, it's optional. Still, it's a cheap and useful component to have in your toolbox.
Understanding the Panel Thermostat Relay and NTC Sensor
The RD-RT40 is a panel-mounted temperature controller. It uses an NTC (Negative Temperature Coefficient) thermistor as the sensor. As the temperature rises, the resistance of the NTC drops. The relay reads this resistance and compares it to your setpoint. If the temperature is below your target, it closes the relay to power the soldering iron. If it's above, it opens the relay to cut power. Simple, right?
This relay can handle up to 10A at 250VAC, which is plenty for most soldering irons. It also has a clear LED display and easy-to-use buttons for setting the temperature. The NTC sensor is a small bead with a wire—you'll need to mount it close to the soldering iron's tip to get accurate readings.
Wiring the Panel Thermostat Relay: Step-by-Step
Step 1: Safety First
Before you touch any wires, unplug everything. Soldering stations deal with mains voltage, so respect it. Work on a dry, non-conductive surface. If you're not confident, get a friend who knows electronics to help.
Step 2: Mount the Relay and Sensor
Cut a rectangular hole in your project enclosure to fit the RD-RT40. It usually comes with a mounting bracket. Secure it with screws. Then, place the NTC sensor as close to the soldering iron's heating element as possible. You can tape it with kapton tape or use a small metal clip. The closer it is, the more accurate your temperature control.
Step 3: Wire the Power
You'll need a power cord, a fuse, and a switch. Connect the live wire from the power cord to the fuse, then to the relay's common (COM) terminal. The normally open (NO) terminal goes to your soldering iron's live input. The neutral wire goes directly to the iron's neutral. Ground goes to the iron's ground and the enclosure. Double-check your connections—a mistake here can be dangerous.
Step 4: Connect the NTC Sensor
The RD-RT40 has terminals for the NTC sensor. Polarity doesn't matter for NTC, so just connect the two wires from the sensor to these terminals. Use ferrule crimps for a secure connection.
Step 5: Set Your Temperature
Plug in the station and turn it on. Use the buttons to set your desired temperature (e.g., 350°C for lead-free solder). The display will show the current temperature. Let it stabilize and check with a thermocouple if you have one. Adjust the sensor placement if needed.
Tips for a Reliable Build
- Use a metal enclosure: It shields against interference and is safer.
- Add a heatsink: If your relay gets warm, a small heatsink helps.
- Strain relief: Secure all cables so they don't pull on terminals.
- Test before soldering: Run the station for 10 minutes and check for stability.
With these steps, you'll have a soldering station that maintains temperature within a few degrees. That's more than enough for most hobbyist and even professional work.
Conclusion
Building your own temperature-controlled soldering station is a rewarding project that saves money and teaches you valuable skills. The RD-RT40 panel thermostat relay with NTC sensor is the perfect brain for this setup, and with the right tools like the Utopia screwdriver set and precision screwdrivers, you'll breeze through the assembly. Remember to prioritize safety and test thoroughly. Once you're done, you'll wonder why you ever soldered without one.
Ready to get started? Grab your components at Electra Store and enjoy fast shipping and great prices. Happy soldering!